
How to Take Care of Chickens—The Complete Guide + 9 Beginner Mistakes to Avoid
Contents and Quick Navigation:
What to Consider Before Getting Chickens:
- Is it Even Legal to Raise Chickens in Your City?
- What Will the Neighbors Think of Your Flock?
- Are you Prepared for One of Your Chickens to Die a Horrible Death?
- Does the Family Dog Like Chicken for Dinner?
- How Much Time do you Need to Raise Chickens?
- What are the Basic Supplies and Costs Needed to Raise Chickens?
- What is the Right Sized Flock for your Space?
- Are you Prepared for the Poop?
- What Will you Do with Roosters?
Getting Started with Chicks:
- Choose Your Breed
- Setup a Brooder for Your Chicks
- How to Feed and Water Baby Chicks
- Brooder Upkeep
- Name and Bond with Your Chicks
Transitioning Your Pullets and Cockerels to the Coop:
- Buy or Build a Coop
- Predator Proof the Coop
- Coop Bedding Setup
- Chicken Waterer Setup
- Chicken Feeder Setup
- What to Feed (and Not Feed) Your Chickens
Coop Keeping:
FAQ’s When Raising Chickens:
- At What Age Do Chickens Start to Lay Eggs?
- Why is My Chicken Losing Her Feathers?
- How Do I Treat Common Chicken Health Issues?
- How Do You Hatch Fertilized Chicken Eggs?
Print This Guide
What to Consider Before Getting Chickens
Could there be anything better than a beloved pet who gives you snuggles and farm-fresh breakfast? We think raising chickens is the best, but before you pick up a chirping box of fluffy yellow chicks at the feed store, consider if it’s right for you by thinking through these 9 beginner mistakes to avoid and learning how to take care of chickens.
1. Is it Even Legal to Raise Chickens in Your City?
Before you get started, it’s important to first check with your homeowner’s association (otherwise known as a neighborhood covenant) and your city livestock ordinances to see if it’s legal for you to keep backyard chickens. In some places, you may be allowed to keep hens, but not noisy roosters. Keep in mind that even if your city does allow chickens, if your neighborhood does not that will supersede your city rules.
2. What Will the Neighbors Think of Your Flock?
Provided it’s legal for you to keep chickens, it’s worth considering how a flock would affect your neighbors. If they have a dog that gets loose and kills one of your chickens, or if you have a hen that flies into their yard and scratches up their flower bed, or a rooster that wakes up their toddler at 5 am, there will likely be trouble. Learning how to take care of chickens and thinking through these possible scenarios ahead of time and being proactive to talk with your neighbor and prevent them, will save you a lot of heartache and may even make the difference between you keeping your flock or being forced to give them up. You could always sweeten the deal by offering your neighbor some fresh eggs!
3. Are you Prepared for at Least One of Your Chickens to Die a Horrible Death?

I will never forget the tears as my kids had to bury the coyote-torn carcass of their beloved pet chicken Nuzzle. We had taken predator precautions and yet there was a mess of feathers just outside the coop where the chicken massacre happened. My kids had snuggled this chicken as a baby, held her in their laps as they read bedtime stories, and even taken her on rides in a half-opened backpack.
Despite our best efforts at beefing up our predator defenses, we lost two more pet chickens to a hungry hawk, a few to a local fox, and another who was injured by her coop mates at the bottom of the pecking order. One time our neighbor’s chicken had an irreparable uterine prolapse and ask for our help dispatching the chicken so her hysterical kids didn’t have to see it.
Farm animals like chickens have a particular way of educating us about life, birth, and death that we don’t experience nearly as often with domesticated pets. It can be a humbling, teaching moment if we let it. There are also steps you will learn in this article on how to take care of chickens that will help prevent most of these deaths.
4. Does the Family Dog Like Chicken for Dinner?
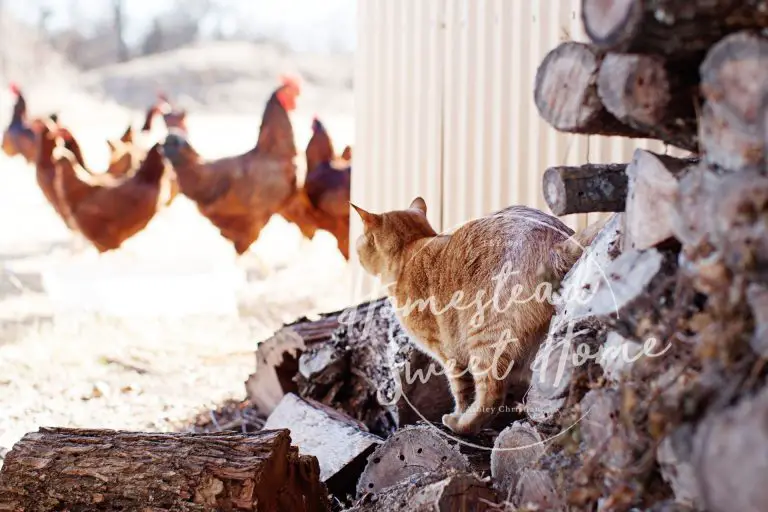
How will your new chickens interact with your other animals like pet cats or dogs? We have had some dogs scarred of chickens, and others indifferent. Once a family member’s hunting dog thought he was doing his job by catching and shaking the chickens to death. Our family cat will stalk the baby chicks but leaves them alone as full-grown chickens. Anything is possible when you mix pets with chickens, so it’s important to have a plan to introduce them cautiously and keep them separated if there is a problem.
5. How Much Time do You Need to Raise Chickens?
With our busy modern lives, you may be wondering if you have enough time to raise chickens. You’ll be happy to know that aside from the initial setup with your brooder and coop, and seasonally cleaning the coop, basic care for chickens takes about 10 minutes a day. In addition, your chickens will give you opportunities for quality family time that makes raising them so special. Once you have the basics down, learning how to take care of chickens isn’t that hard! In fact we think it’s the easiest place to start raising your own food.
6. What are the Basic Supplies and Costs Needed to Raise Chickens?
Obviously, the answer varies greatly depending on what you want to put into it and how many chickens you plan to have in your flock. For the sake of seeing how to take care of chickens and if raising them is right for you, let’s say you plan to have 6 hens you raise from chicks. You would need:
6 chicks: average $3-$5 per chick $24
Brooder set up: starter pen ($20-$50 you can use a mesh pop-up pen, a small animal cage, plastic tote, or build a pen), heat plate ($50), chick feeder and waterer ($20), bedding ($30), and chick feed ($8/chick for 16 weeks x 6 chicks = $50)
Coop: average $300 to build your own, $650 to buy one
Coop set up with waterer ($40 for 5-gallon waterer, consider getting a heated one if you get freezer weather), feeder ($25 for 30 lb hanging feeder)
Ongoing costs: feed ($30/month) and bedding ($20/month)
This gives us a rough total of about $800 start-up costs plus $50/month ongoing.
One of the biggest costs surprises we had personally was all the efforts that went into predator-proofing our chicken run including an electric fence and hawk netting. Depending on your area and set up, this may not be an issue for you but it’s something to keep in mind.
As you can see buying eggs from the store when they have been raised at a mass scale is a whole lot cheaper! But the enjoyment, self-sufficiency, and superior health we get from raising chickens for farm-fresh eggs cannot be measured.
7. What is the Right Sized Flock for Your Space?
This is one of the most important aspects of learning how to take care of chickens and keep them healthy and well-behaved. Most coop plans or premade coops will give you an estimate of how many chickens can live in that space, so follow those recommendations while erring on the side of giving them more space. Try to plan for at least 10 feet of outdoor space per chicken to keep them happy and healthy! And expect that space to contain plenty of chicken poop. Speaking of . . .
8. Are You Prepared for Poop?
The truth about chickens is that they are adorable but they can stink! They will poop wherever they are allowed to range, soil their bedding, and poop on you without a second thought in their little bird brains. For some reason, our chickens particularly liked our front porch and pooped most generously on it. I was forever hosing it off so our family and guests didn’t end up with chicken surprises on their shoes until we finally made the flock an extra-large (1,700 square foot) fully enclosed run and no longer allowed them to free-range. It was a trade-off to not have them free range the yard in order to not have it covered with chicken poop. Just something to think about as you plan your setup and learn how to take care of chickens.
9. What Will you Do with Roosters?
Some chicken breeds can be sexed as chicks, allowing you to easily order only hens and no roosters. Other breeds can be expertly sexed at the hatchery but these come with about an 85% accuracy rate so you may end up with roosters even if you only order hens. What will you do with those roosters? (Tip: you do not need roosters to have eggs. Your hens will lay unfertilized eggs without a rooster around.)
You may not be able to keep them per your city or neighborhood ordinances. Roosters can be beneficial in protecting your flock from predators, but as they grow older they can also become aggressive with their owners and even attack children. We have had to dispatch several roosters for this reason.
One rooster is about the right amount for every seven to ten hens to keep your flock happy and healthy. So if you find yourself with unwanted roosters, what will your game plan be? We have tried to process and eat our roosters before, only to find the meat impossibly tough because they were over a year old. To avoid this we now give our unwanted older roosters away to a reputable chicken handler we contacted through our local feed store. We affectionately call him our “Chicken Dude.”
Getting Started with Chicks
Now that you understand the 9 rookie mistakes to avoid, here is a step-by-step guide for how to take care of chickens.
Choose Your Breed
The first step in learning how to take care of chickens is choosing a breed for your setup, which can be an overwhelming task. For the sake of simplicity, we’re giving you our top picks in each category, and you can do more research from there if you’d like.
Best Egg Producer: Rhode Island Red. Perhaps the most popular egg-laying chicken is the American bred Rhode Island Red. This is a bigger bird that lays beautiful large brown eggs, can tolerate both heat and cold well, and can usually only fly a few feet off the ground so they won’t be flying out of your backyard. This is an excellent pick for your first egg-laying chickens. They can also be used for meat chickens, though they are not very likely to be broody mothers who will sit on their eggs.
Blue Egg Layers: If you love the novelty of beautiful blue eggs, you will love the Ameraucana chicken, also known as the Easter Egger Chicken. They have a good disposition, come in a variety of feather color patterns, and have a good production of blue, or even green eggs. They are also very cold-weather hardy.
Best Dual Purpose: If you’re looking for an all-around bird that lays well, makes a good meat chicken, will be an excellent mother, is weather hardy, and is friendly and fluffy, you can’t go wrong with the Buff Orpington, one of the most popular breeds in America. The Buff Orpington is also our top pick for a sustainable flock that can provide you with eggs, meat, and new baby chicks to keep the cycle going.
Favorite Ornamental Chicken: The Silkie chicken is small but exceptionally fluffy and motherly. They will raise just about any fowl as if they were their own. Some people keep a few silkies in a mixed flock with another breed just to incubate and raise the babies. They are a remarkably friendly, and adorable breed.
Best Meat Birds: The Cornish X Rock is a hybrid chicken developed over 60 years for commercial use. It’s created from four grandparent strains that cannot be bred true, so chicks must be ordered from hatcheries each round. They are ravenous birds that are ready to butcher between 6-8 weeks. We have done several rounds of these meat birds and it’s a great project because you can fill the freezer in a very short amount of time. If you don’t want to process the meat yourself, you can take them alive to a butcher who can do it for about $3-4 per bird.
Honorable Mention: The Barred Rock is another all-time American favorite chicken breed since the 1800s. They are excellent egg layers as well as meat birds, and the hens will lay all through the winter. They have a nice disposition but are not very likely to sit on their eggs. This was the original American commercial meat bird breed until the Cornish X Rock was developed.
Once you’ve selected your chicken breed, you can order them from your local feed store, or have them delivered to your local post office from a hatchery. Yes, chicks can come in the mail, to the great entertainment of everyone who handles them! We have always used Murray McMurray Hatchery and had wonderful experiences with them, however, there are many excellent hatcheries to choose from.
Set Up a Brooder for Your Chicks
Now that you’ve selected your chicks and they are potentially on their way, you’ll want to set up the brooder for your baby chicks. A brooding setup comes in all shapes and sizes but has a few basic elements.
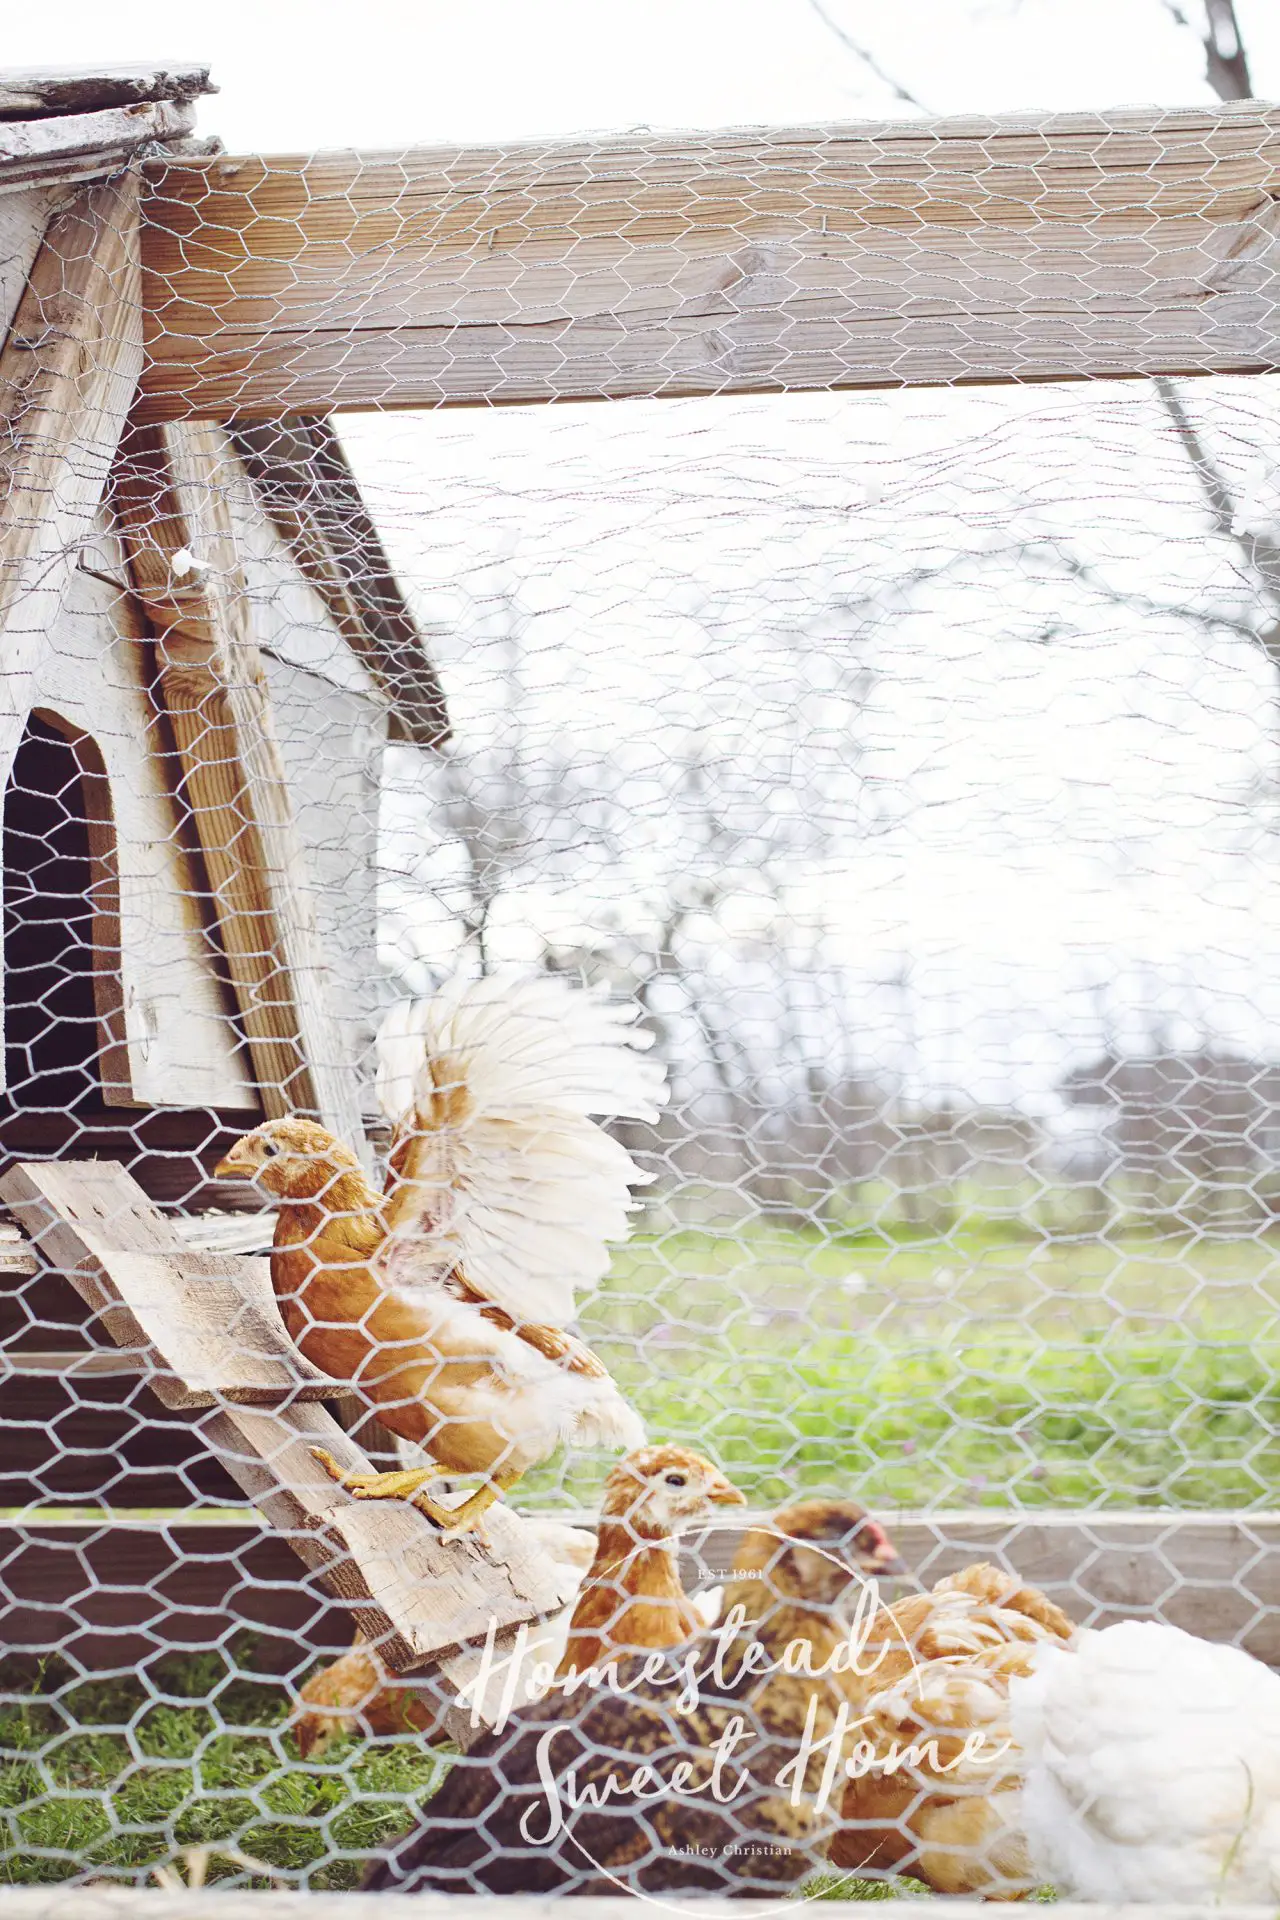
Enclosure: Your chicks will need a safe enclosure that will keep them from wandering out, and family pets or toddlers from getting in. This can be a plastic tub, a rabbit or small dog cage, a pop-up mesh enclosure, a homemade brooder made with wood and chicken wire, or even a thick cardboard box.
Bedding: Your chicks will need a base of course pine wood shavings several inches thick in the bottom of their enclosure. This will keep their delicate feet safe and will help keep them clean and dry from water, feed, and chicken poop/pee.
Heater: Unless you are in the middle of summer in a warm climate, your chicks will likely need a heat source as they cannot yet regulate their own temperature. A simple heat lamp on one side of the brooder will do the trick. They also have heat plates for brooders that work well. Just make sure there is a cool and warm spot in your brooder so the chicks can seek the temperature they need as the outside temps rise and fall.
Waterer and feeder: You will need a waterer and feeder for your chicks. Your local feed store will have these or you can order them online. The waterers and feeders are designed specifically for chick’s tiny beaks. We have used a rabbit water bottle secured to the side of the brooder and a simple metal tray feeder and those have worked great.
Feed: Chick Starter/Grower is Ideal for chicks from hatching till they begin laying (18-20 weeks.) This has a protein content of about 20 percent. If your chicks were vaccinated for the common but deadly avian Coccidiosis parasite, you will want to give them an unmedicated chick starter. If your chicks were not vaccinated, you’ll want to give them medicated chick starter. If you wish to avoid the vaccine and medicated chick feed for Coccidiosis, you can mix a teaspoon of apple cider vinegar in your chick’s water and very gradually introduce them to the main coop. They will likely develop natural immunity to Coccidiosis this way.
How to Feed and Water Baby Chicks
To feed and water your chicks is pretty simple. Simply fill your feed and water up and place them in the brooder. It can be helpful to set the feeder up on a block of wood to raise the height so your chicks don’t scratch their bedding into the feeder covering the feed. Sometimes when we first receive our chicks, we will hand water them until they figure out where the water is at, which is usually pretty fast. We like to check the brooder daily (or even more often since they are so cute!) to refill on feed and water and check on the health and behavior of the chicks. This is probably the easiest step in learning how to take care of chickens.
Brooder Upkeep
The brooder upkeep is also fairly simple. Your biggest task will be changing out the bedding when it becomes saturated and stinky. Gently place your chicks in a cardboard box and then remove the feed and water, and the soiled bedding. You may need to wipe or rinse and dry your brooder depending on which enclosure you used and how messy it’s become. Replace with fresh bedding, water, and feed, replace the heat lamp, and return your chicks back to the brooder.
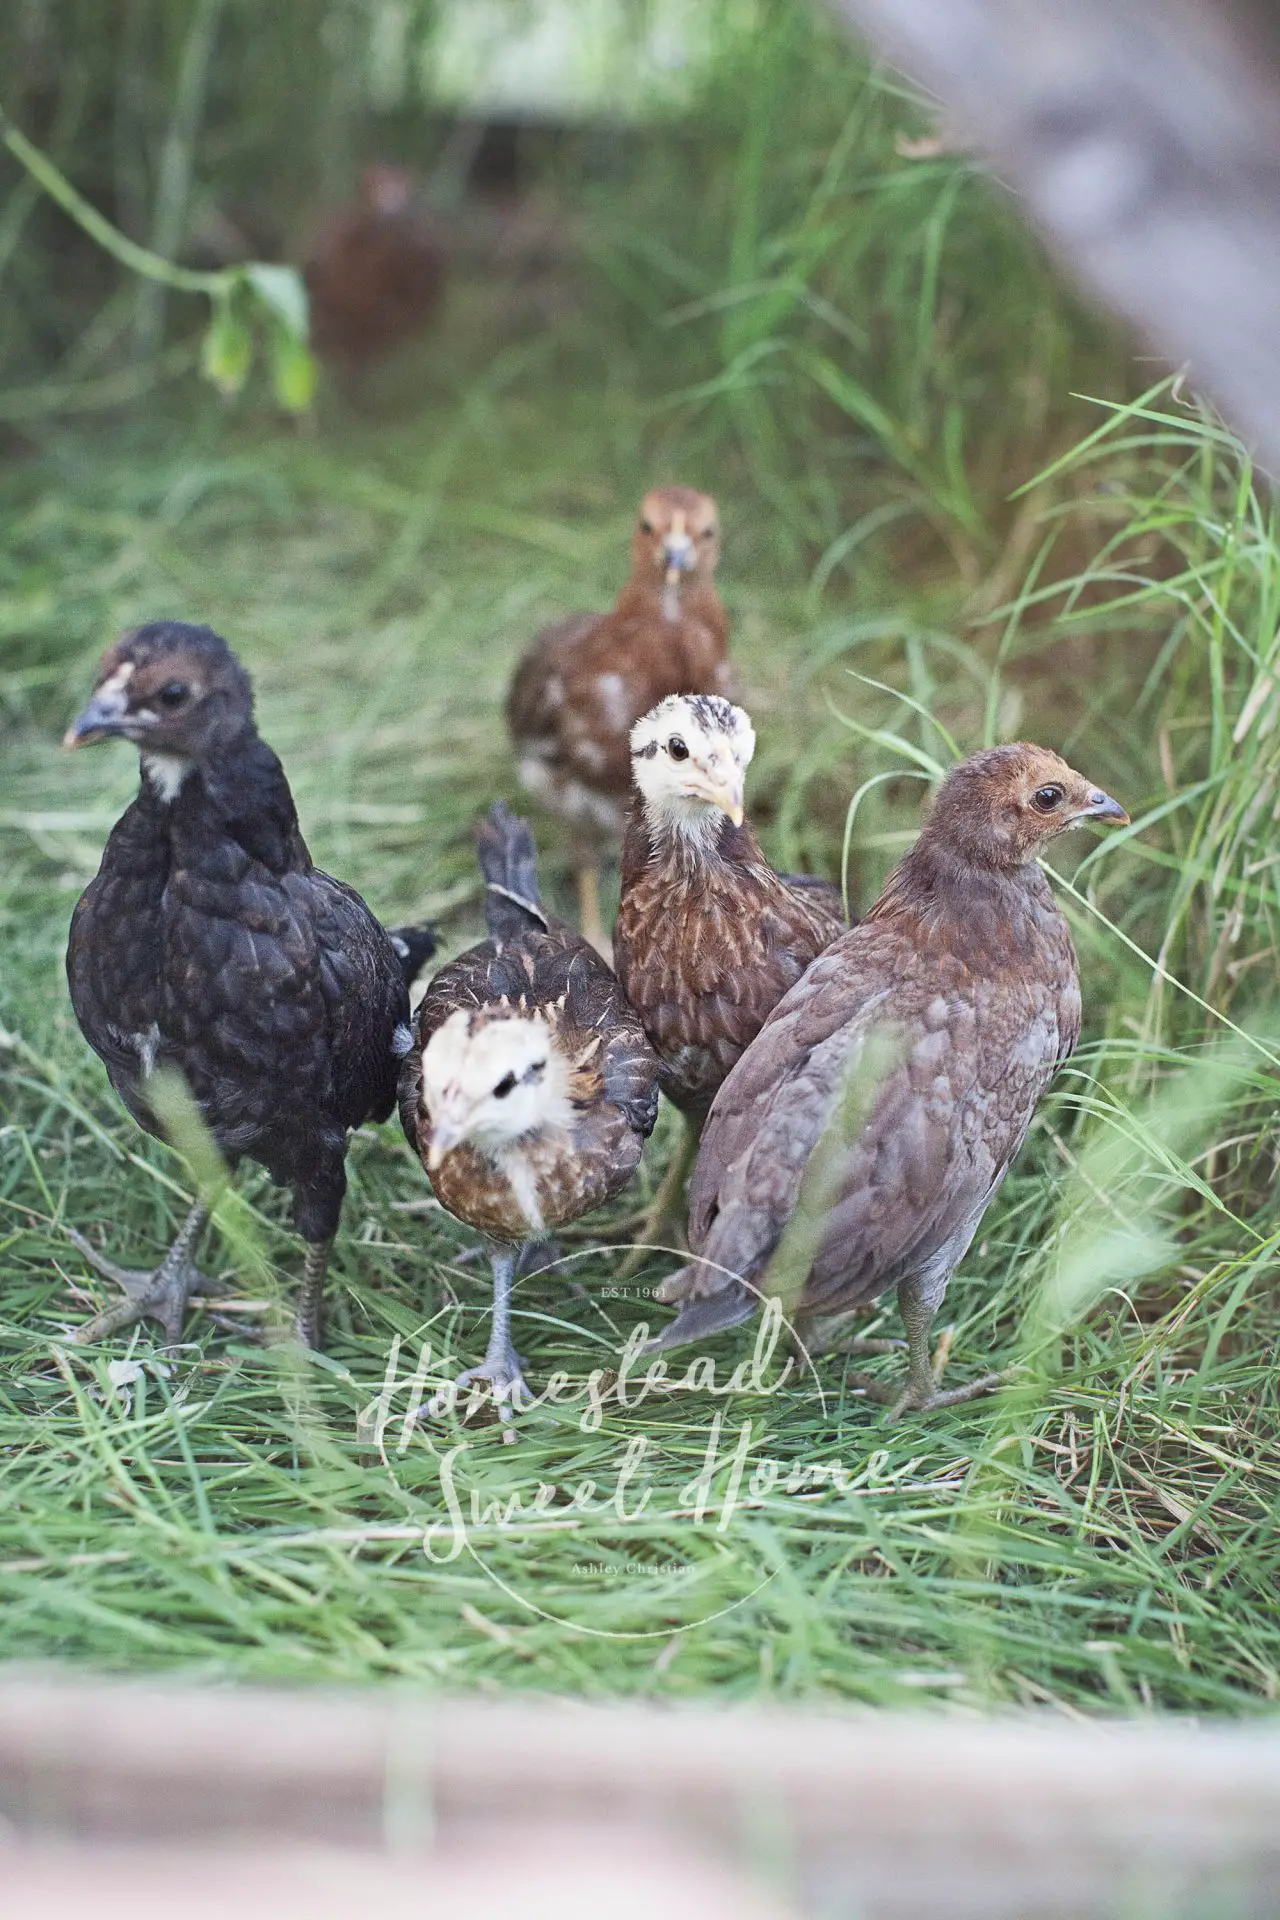
At first, you won’t have to do this process too often, but as your chicks grow, you will find the bedding getting soiled and stinky more quickly. Eventually, you can move your chicks to the outdoor coop and not worry about changing bedding so often. As long as the temperatures outside remain above 50-60 degrees and your chicks are at least 6-weeks old, you can move them to the coop.
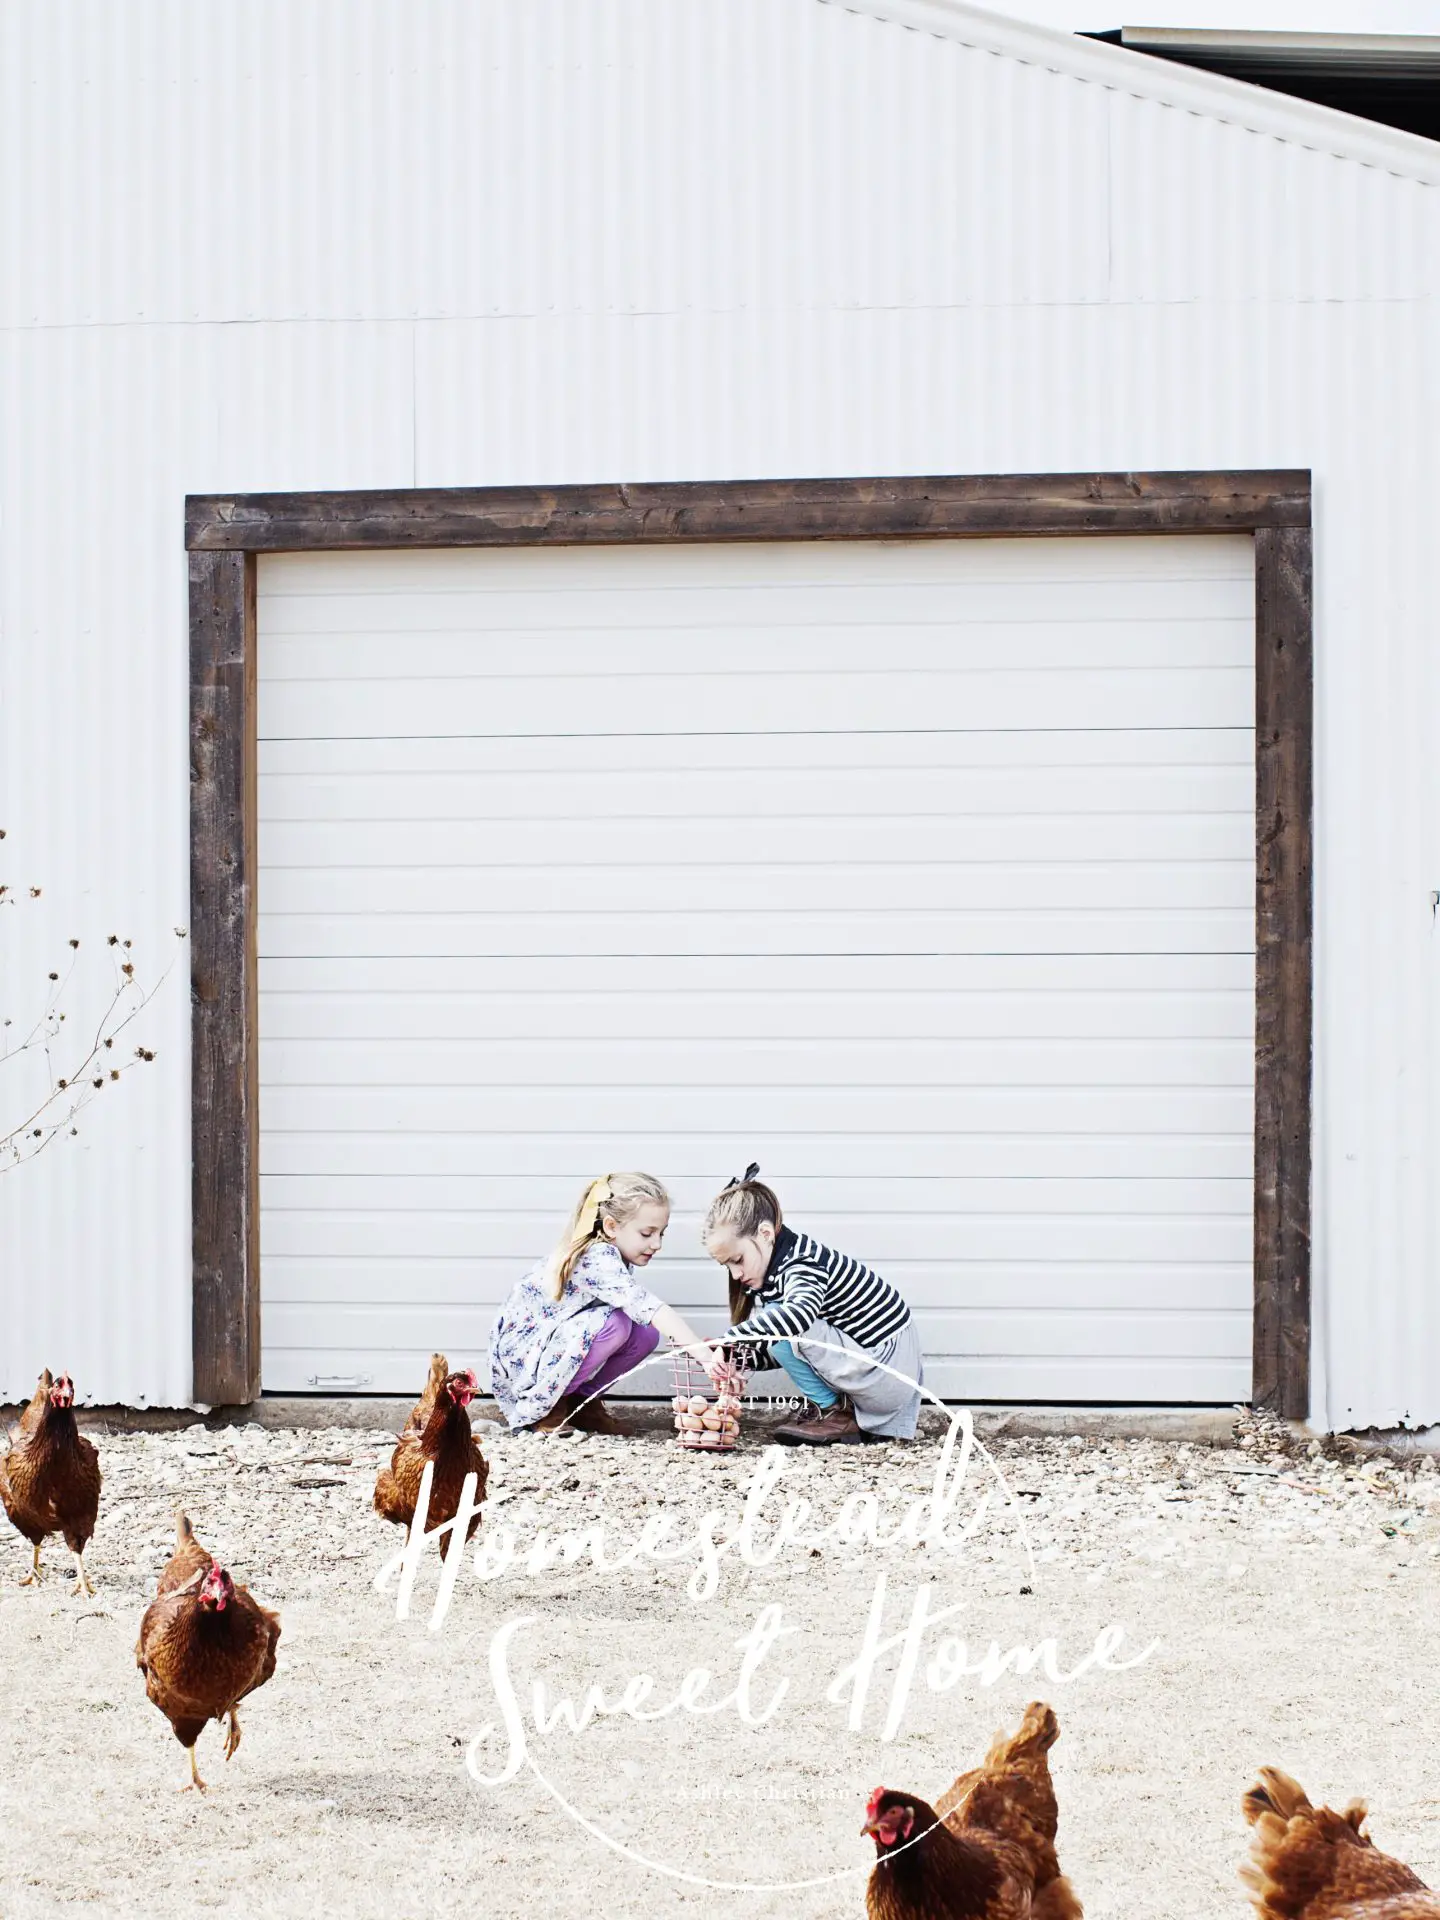
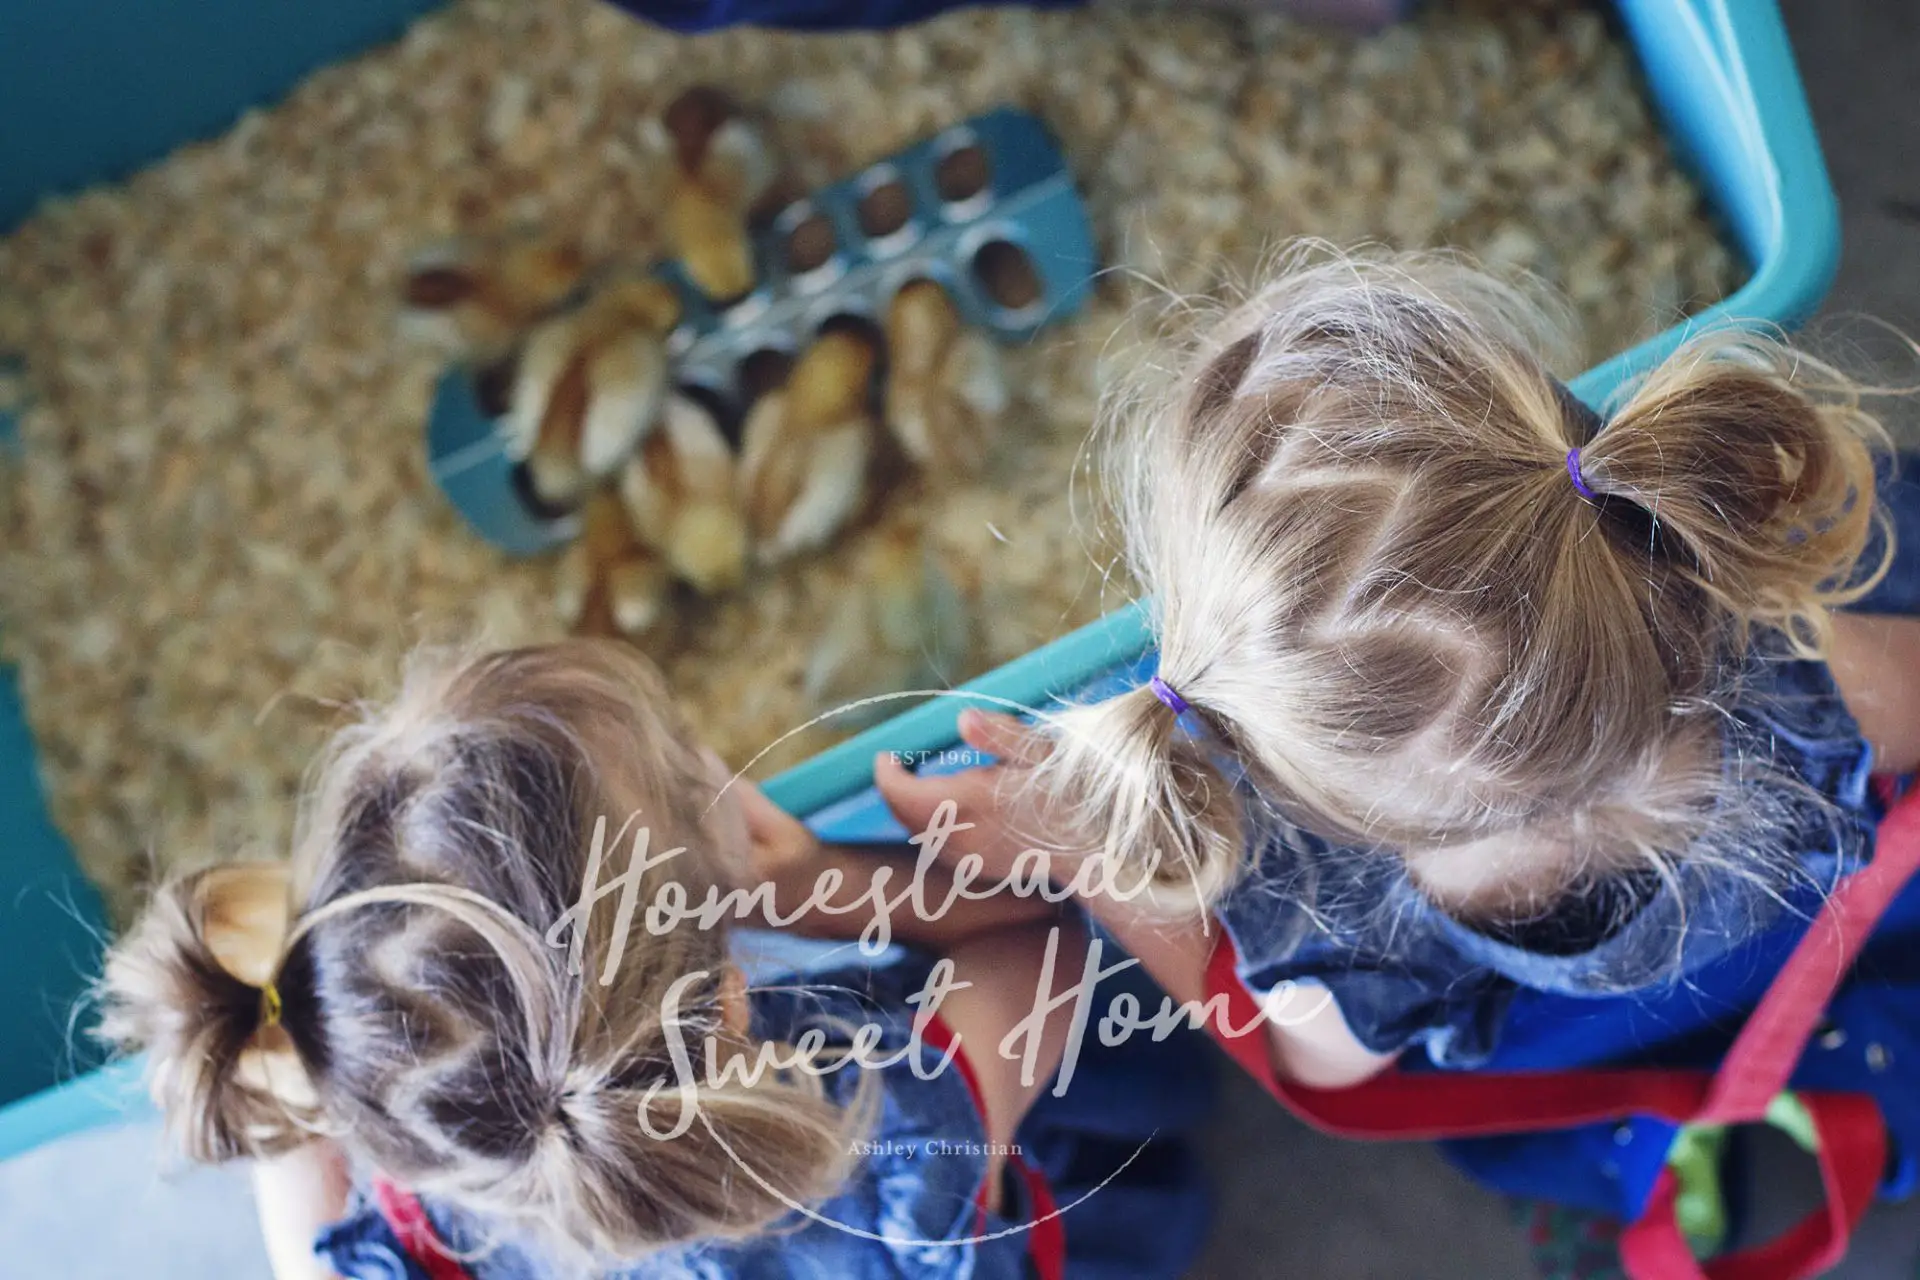
Name and Bond with Your Chicks
What is raising chicks without naming and bonding with them! We have found that the more often and early we gently handle our chicks, the more friendly they are as adults. Check out this extensive list of chicken names! You can use different colors of nail polish on one toe to help identify your chicks until they are older and you know them by their feather pattern and personality. We think this is the most fun part of learning to take care of chickens!
Transitioning Your Pullets and Cockerels to the Coop

As soon as you get settled with your baby chicks, it’s time to start thinking about their permanent home in your yard or on your homestead. Pullets are female teenage chickens and cockerels are male teenage chickens. A pullet is a hen that is over 6 weeks old, but under 6 months, and has not started laying eggs yet. Hens will generally start laying around 4-6 months old.
Buy or Build a Coop
When it comes to setting up the coop, you can build one for around $300, or buy one for about $650. Check out our Guide to 14 Beautiful Chicken Coop Plans. Before deciding on a chicken coop design or product, you’ll need to decide if you plan to free-range your chickens or not. We’ll lay out the pros and cons:
Pros of free-ranging your chickens:
- Keeps chickens happy and well behaved
- Will cut down on the bug population and your feed costs
- Can result in more nutrient-dense eggs
- You will not have to build a large and secure chicken run
Cons of free-ranging your chickens:
- Chickens are more susceptible to daytime predators including dogs, hawks, and coyotes
- You’ll need to gather and shut your chickens in their coop each night for safety and let them out in the morning (some people use automatic timed chicken coop doors for this!)
- Chickens love to scratch up gardens and landscaping and poop on your porch
- Free-range chickens may fly into delivery trucks looking for scraps (this is a true story that happened often to us!)

Now you’re probably more confused so we’ll lay out 4 possible options:
- You can always start with free-ranging your chickens to see if it works for you. Though many of us have to find out the hard way that this doesn’t work for us. Some people use livestock guardians like a dog or donkey, or sometimes even a rooster will be sufficient to protect a free-range flock during the day.
- Build a large predator-proof chicken run. This is more time and money-intensive.
- Use a movable coop called a chicken tractor to move your chickens around the yard. Some people also use electric net fencing and a mobile coop to move their chickens to a fresh spot every week.
- Use a small chicken run attached to your coop and keep no more than 3 chickens.
Once you’ve decided how you want to set up your coop, you can check out these DIY chicken coop plans, or shop for something pre-made from Tractor Supply. Learning how to take care of chickens is all about doing what works for you. You can make the coop set up as easy or involved as you want.
Predator Proof the Coop
From foxes, coyotes, hawks, weasels, raccoons, stray dogs, possums, bobcats, skunks, snakes, and even bears, everything loves a chicken dinner.
How you predator-proof your coop depends on what coop and run setup you are using.
Free-ranging: If you are free-ranging your chickens consider a livestock guardian such as the Great Pyrenees or a donkey and keep a rooster to watch over your hens. I have witnessed a hearty rooster successfully fend off two hawks from my hens! If you’re free-ranging your chickens you’ll want to make sure they are penned up in their coop at night. They will naturally head in at dusk and out at dawn, but you’ll need to close and latch the door to keep night-time predators out. Some folks even of electric chicken coop doors that open and close on a timer.
Small coop or chicken tractor: If you use a small coop and run with just a few chickens, or a medium-sized chicken tractor built with strong fencing, you should be okay with those enclosures to keep them safe. But if you are using a larger chicken run, these are some specifications to follow to keep your flock safe. Some people use an electric netting fence as a run and rotate the spot they leave it in.
Larger run: Use strong fencing: Chicken wire is helpful for keeping chickens in, but it’s not strong enough to keep predators out. We have used goat fencing covered in chicken wire for our coop, other people have had good success with chain-link fences if they don’t have smaller predators like snakes and weasels.
Make fences tall and deep. Chickens can fly and predators are excellent climbers so you’ll need to build your run at least 6-feet tall. They are also great diggers so you’ll want to bury your fencing 18 inches deep. Quite literally everything loves a chicken dinner, so you’ll need to protect the top of your run from birds of prey and tree-climbing predators. You can use netting, or a more economical solution we used, is a network of metal twine tied with reflective ribbon to scare away would be chicken assassins. Some small runs can also come with fencing on top.
Use a padlock or electric fencing around the coop. Raccoons love chicken too and are surprisingly dexterous and can easily open fencing latches. You’ll want a locking latch, or potentially even wire electric fencing around your run. After using all the aforementioned methods, we were still having bobcats and foxes climbing our fences and massacring our chickens, so we used a wire electric fence and put it on a timer that only turned on when it was dark and predators were hunting.
Electric fencing can be a scary proposition with kids in the home. We did have each of our older kids get zapped at least once by the chicken fencing, despite the timer. Once it got my father-in-law and he yelped in such a funny way we all laughed! Thankfully everyone is fine, but as you can see, keeping your chickens safe can become a costly and heartbreaking process. The more you can think through and prepare for potential problems, the better off you will be. Take time to talk with your neighbors who keep chickens and see what their experience has been with predators. That will be the most valuable information you can get on how to take care of chickens and keep your beloved flock safe from what is hunting in your area.
Coop Bedding Setup
Bedding is an important part of your coop setup because it will help manage the order and bacteria created from your chicken’s poop, as well as giving them a soft place to nest and lay eggs. We’ll give you the most common types of bedding used and their pros and cons.
Straw Hay: Pros: inexpensive, easy to find, warm, and has been used for thousands of years. Cons: Doesn’t absorb, difficult to clean, needs to be replaced often, encourages bacteria growth, and it’s stinky. We do not recommend using hay in your coop.
Pine Wood Shavings (do not use cedar as it can be toxic for your chickens): Pros: Most popular bedding choice because it is absorbent, lightweight, and controls orders well. Cons: Can be more expensive, and we recommend using larger shavings rather than fine to avoid ingesting and dust.
Sand: Pros: For a permanent coop, construction-grade course sand is our top choice because it is the easiest to clean and controls orders, bacteria, and moisture the best. You simply clean it out as you would kitty litter and change it out completely once a year. Cons: You’ll need to look around to find course sand usually from a local construction company is your best bet, and you’ll need enough to cover several inches deep. Sand is great for the floor of your coop, and even a run that has become muddy, but you’ll need some cushiony pine wood shavings for your nesting boxes. Sand may also be too heavy for a mobile coop.
Set up a dust bath: your chickens will naturally take dust baths to keep themselves clean and lower the chance of getting mites. You can allow them to find this spot naturally in a dusty place in your run, sand bedding, or while free-ranging. But if they can’t find dust on their own, or they make a dust bath in an unwanted place like your flower beds, it’s best to provide them with a dust bath. Any chicken-sized container filled with dry dirt/or sand will do. We have an old tire filled with dry dirt and sand our chickens love to “bathe” in.
The deep litter method. Though not recommended for beginners, the deep litter method uses a mixture of pesticide-free pine shavings, leaves, hay, and chicken poop built up between 2-12 inches in the bottom of the coop in a natural composite pile that can later be used in the garden. The chickens will naturally help aerate the composite, though it needs to be watched carefully to keep composting conditions ideal as it can make your chickens sick if not done properly. This is a more difficult method of how to take care of chickens, but for some people, it’s well worth the learning curve and is fairly low maintenance once they have the technique down.
Chicken Waterer Setup
You’ll need to set up a watering system for your chickens, and options range from very simple to complex automatic systems. Here are some options to consider for your watering system and our pros and cons after having tried them all ourselves.
- Plastic Gravity Waterer: Pros: cheap and simple. Cons: grows algae easily and needs frequent cleaning. Easy for chickens to dirty the water.
- Metal Gravity Waterer: Pros: simple and does not need to be cleaned as frequently. Cons: will rust after a few seasons and cannot be used with apple cider vinegar supplements. Easy for chickens to dirty the water.
- Plastic Nipple Waterer: Pros: Keeps water very clean and can be used with a heated base in the winter. Cons: you’ll need to show your chickens how to use it at first by tapping their beaks on the nipple.
- Plastic Cup Waterer: Pros: Easy for chickens to use and keeps the water clean. Cons: Water in the cup will freeze in the winter even with a heated base.
- Automatic Watering System: Pros: once set up will keep your chicken’s water clean and filled at all times so you won’t have to refill anymore. Cons: requires some DIY and work to set up.
Our vote for beginners is the Plastic Nipple or Cup Waterers. If you live in a cold-weather climate you will need a heated base to set your waterer on. Regardless of which waterer you choose, we recommend you set it on bricks or a low platform so the water is at the height of the chicken’s shoulders making it easy to access and keeping their dirty feet out. You can also hang some watering models instead. If you feel so inclined, you can also buy parts for a cup or nipple waterer and make your own system from a BPA-free bucket or pipe.
The size of your chicken waterer depends on how many you have, how big your flock is, and how often you want to refill them. 2 gallons is a fairly common size, and will water 4 hens for at least 5 days. We recommend setting up your water in your chicken run or outside of the coop to help keep the coop dry, and your waterer free of poop and bacteria.
Chicken Feeder Setup
You’ll need to think about what feeding system you want to use for your chickens. In general the more simple the system, the less expensive and more prone to feed waste they are. Here are some options to consider for feeding your chickens.
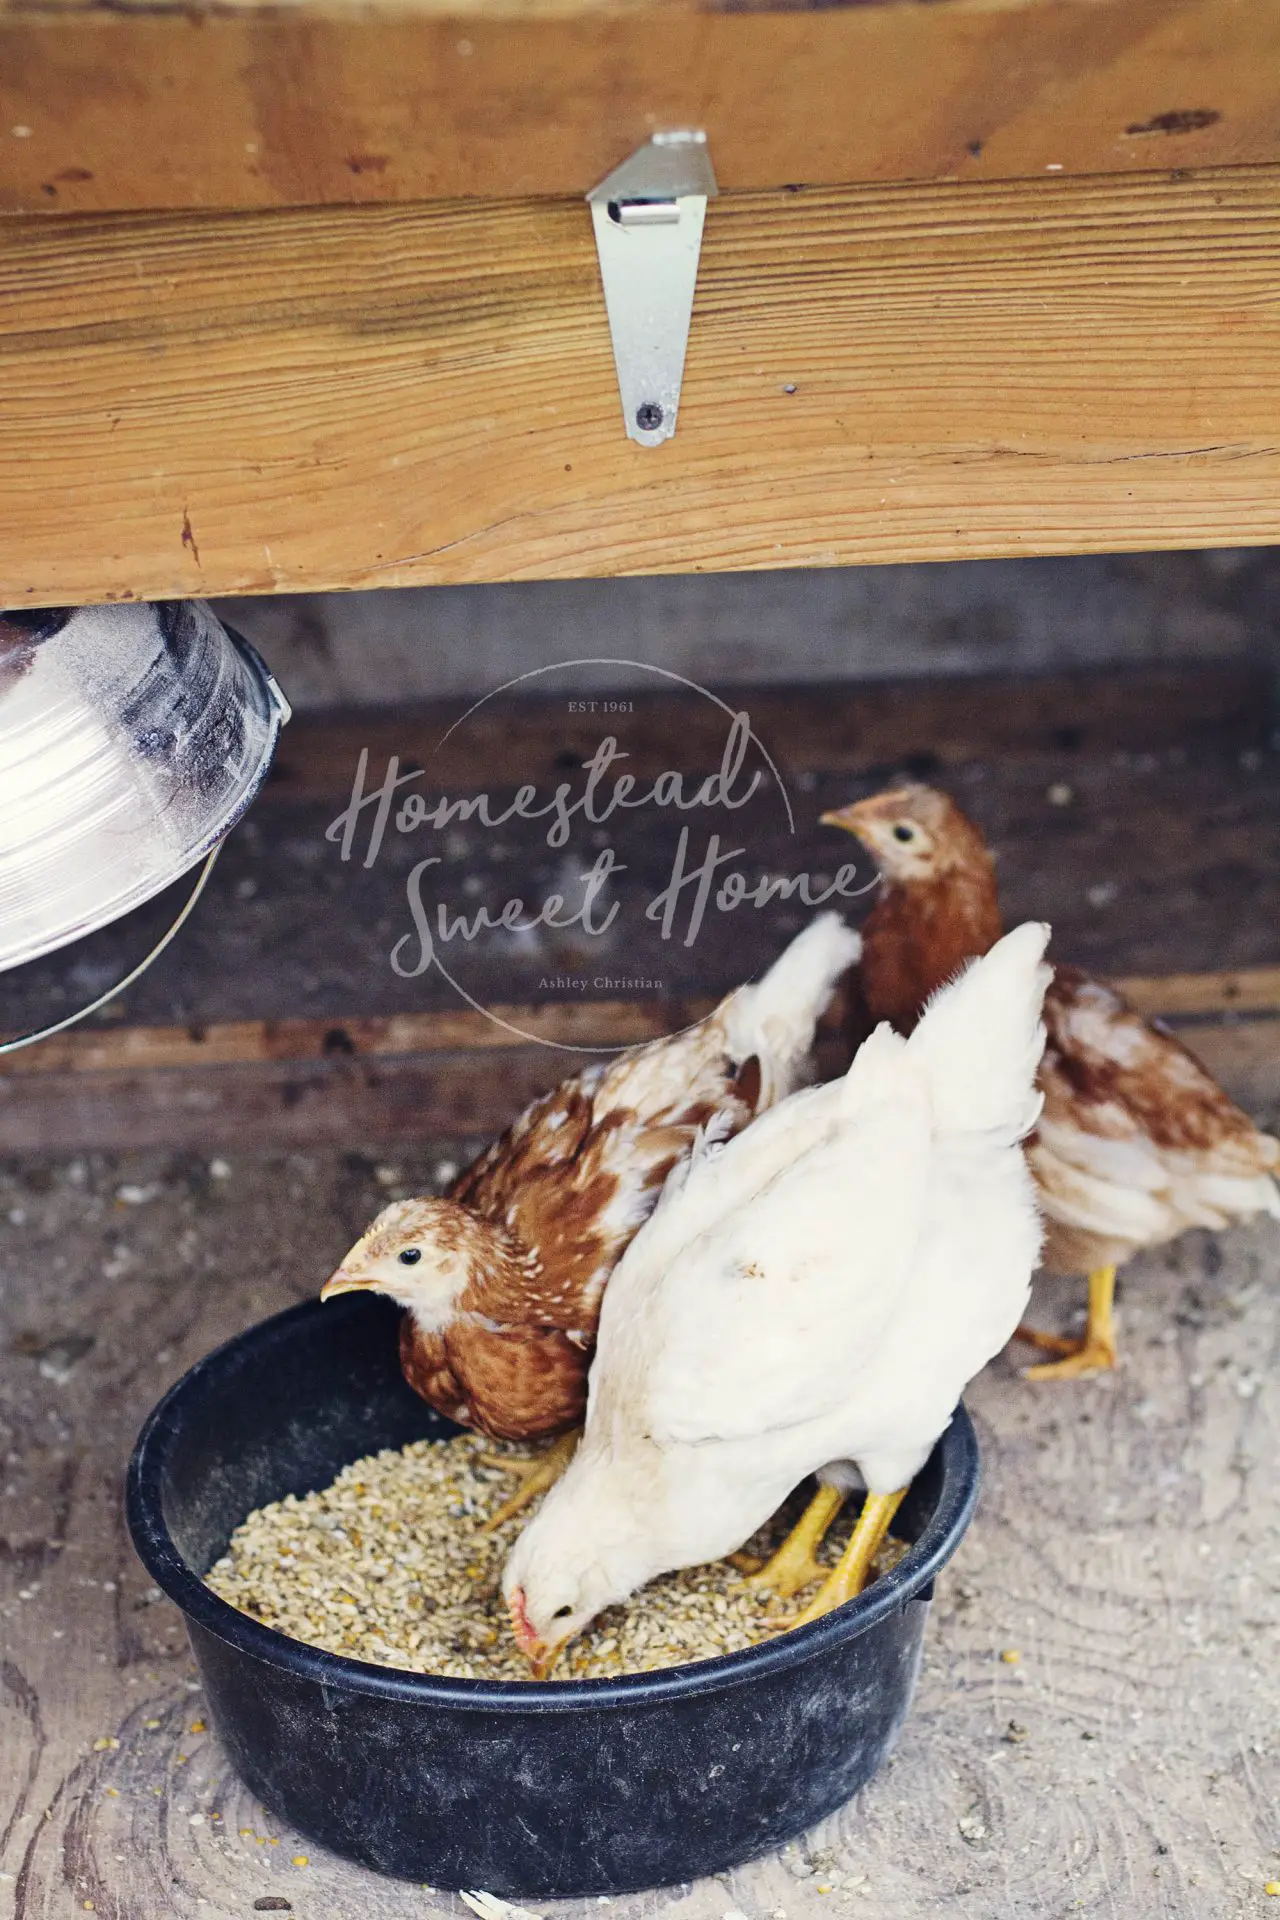
- Trough Feeder: inexpensive trough feeders are ideal for the brooder, but can be used for small breed (Bantam) chickens. Bigger chickens will knock them over so they are not recommended.
- Trough Gravity Feeder: Pros: Common and easy to use. Cons: Will waste a lot of feed on the ground and attract birds, rats, and squirrels. It’s also not weatherproof.
- Port Gravity Feeder: Pros: The ports help prevent feed waste and keep feed dry in the elements. Cons: Determined varmints can still eat the feed.
- Treadle Feeder (a fully enclosed metal feeder that opens when a chicken steps on the footplate): Pros: Weatherproof and varmint proof. Cons: Chickens need to be trained to use it, the footplate will become hot in full sun and heat, and they are expensive.
We recommend a small simple trough or trough gravity feeder for your brooder so baby chicks can easily access their feed. Once you transition them to the coop, we recommend a port gravity or treadle feeder. Though the port feeder is simpler and less expensive, you may find yourself either losing expensive feed to other critters or buying a treadle feeder down the road.
Even with the best-laid plans, raising chickens can be a process of trial and error for what works best for your area and homestead.
What to Feed (and Not Feed) Your Chickens
Your chickens will love as much free-ranging space to eat plants and bugs as you can safely give them. They will also love kitchen scraps (though there are some that are dangerous, we’ll list those for you.) Giving them this variety will not only cut down on your feed costs but will also keep your chickens healthy and entertained. Bored chickens are more prone to bad behaviors like feather picking and egg eating, and giving them a varied diet certainly helps keep them happy.
Even with a varied or free-range diet, your chickens will need supplemental feed. For some chickens with less space to roam, this feed will make up the bulk of their diet. There are several types of feed to support your chickens in their different phases of growth. Food comes in pellets, crumbs, and mash, pellets being the most commonly used. When in doubt, ask your local feed store what they recommend for your chickens.
Laying Hens or a Mixed Flock Not Intended for Meat:
Egg Layer Feed: Typical this is a 16 percent protein feed with increased calcium and is suitable to feed beginning around 18-20 weeks or when your hens start laying. It’s perfectly fine for roosters in a mixed flock as well.
Chickens Raised for Meat:
Meat Bird Feed: This is an excellent feed for chickens raised for meat and processed between 6-8 weeks for Cornish X Rocks and 16-22 weeks for heritage breeds. It is a higher protein feed of 22 to 24 percent and can be fed from hatching until butchering. You can process chickens for up to 8 months and still retain the tenderness, but after that chickens get rather tough and are best in the crockpot or soup.
Should I buy organic feed?
Regardless of your choice to give organic feed or not, the chickens your raise for meat and eggs, will be exponentially more healthy for you than the conventional choices at the grocery store. If you can’t afford organic feed, don’t worry about it and try and give your chickens lots of opportunities to free-range, even if that means a simple chicken tractor.
If you want to go down the organic rabbit hole, the benefits of organic feed are that the grains used are not genetically modified and sprayed with glyphosate, a common pesticide known to increase the risk of certain cancers, celiac, autism, and endocrine disruption. Glyphosate does show up in low levels in the animals who eat non-organic feed, particularly in the fat and skin.
We have used both non-organic, and organic feed, and both work well. The one crop of 50 meat birds we raised on organic feed was the best-tasting chicken I’ve ever had! Truly the ability to free-range will impact the health of your chickens and what you eat from them the most.
Supplements:
Grit is necessary for chickens to digest their food since they don’t have teeth. Grit can be anything from sand, small gravel from a driveway, to a supplement of ground walnuts, or ground granite from the feed store. Chicks fed only starter do not need grit until you start feeding them treats or let them free-range. If your chickens are free-ranging, they will most likely pick up whatever sand or pebbles they need on their own, and you won’t need to supplement. But if your chickens are in a confined grassy run, it’s best to leave a bowl of grit, whether that’s course contractors sand or grit from the feed store.
Chicken Scratch is a mix of several whole grains that encourage pecking behavior which is stress relieving for chickens. It cannot replace the nutrition of their regular feed but is an excellent supplement particularly for chickens who are confined to a run.
Oyster Shells: When a hen begins laying, she can use 4 times as much calcium to produce eggshells as a non-laying hen. When there is not enough calcium in her diet her body will use calcium from her bones making them brittle. This lack of calcium can lead to soft eggshells and egg binding, a condition where eggs get stuck in your chicken and can be fatal. This is why laying feed is supplemented with calcium, though it is usually not enough for your laying hen. Excessive calcium in non-egg-laying hens and roosters will overload the kidneys and can be fatal. It’s best to offer the oyster shells freely year-round in a bowl separate from the feed. Your chickens will instinctively eat what they need and not more. Many chicken owners offer up crushed eggshells to their chickens for calcium instead of oyster shells.
Chicken Treats: You don’t HAVE to feed your chickens treats, but it sure is fun! Chickens love mealworm and black soldier fly larvae treats you can get from the feed store and they are a rich source of protein. We have even raised our own simple mealworm farm in pine shavings before! Some commercial chicken treats resemble trail mix with nuts, sunflower seeds, raisins, and mealworms. Other treats include herbs, probiotics, crab, and fish.
Garden and Kitchen Scraps: Your chickens will love your kitchen and garden scraps, and it’s a healthy addition to their diet and will keep them entertained and happy. Most scraps are safe to feed chickens, but there are a few you should avoid as they can make your chickens sick or even die.
What not to feed chickens:
- Avocados, particularly the pit and peel.
- Dried beans—cooked beans are fine!
- Junk Food or moldy or rotting food. If it’s not good for you, it’s not good for your flock.
- Green potato skins—brown raw skins or cooked potatoes are fine.
- Citrus
- Onions
- Tomato or potato leaves from the garden
- Some shrubs and plants are not good for chickens, but they naturally avoid these while free-ranging so you don’t need to worry too much about them.
Coop Keeping
Keeping up your coop and flock is fairly simple. What you observe from your flock, and keeping their conditions clean are the most important factors in keeping them healthy, happy, and free from disease. You can divide these chores into daily, monthly, and seasonal tasks that make learning how to take care of chickens so simple anyone can do it.
Daily coop keeping—refill food and water as needed, collect eggs, and observe your chicken’s behavior. This upkeep should take only 10 minutes a day.
Monthly coop keeping—inspect and change bedding and nesting boxes as needed. Scrub and sanitize your waterer. You can use white vinegar with a plastic waterer, but for metal just scrub it out as best you can. Buy feed and any supplements you are using.
Seasonal coop keeping—Each Spring and Fall it’s a good idea to do a deep clean of your coop, make any necessary repairs, and prepare for hot or cold weather. To winterize your coop, depending on your climate, you may want to add a light on a timer to keep hens laying through darker winter months, and a heated base under your watering system to keep water from freezing. You may also want to shutter coop windows to keep freezing drafts out. To get your coop ready for summer, you’ll want to make sure it has adequate ventilation and your chickens have shade in their run, and their dust bath area in the shade as well.
FAQ's of How to Take Care of Chickens
At What Age do Chickens Start to Lay Eggs?
Hens will generally start laying around 18-22 weeks old and how many eggs they lay will depend on their breed and if they have optimal health conditions. You also may not know that your farm fresh eggs have a special antibacterial coating on the outside of their shells. If you do not wash your eggs, you can keep them unrefrigerated on the counter for up to two weeks! You can read your article When Do Chickens Start Laying Eggs — 6 Signs + Tips to Encourage Laying.
Why is My Chicken Loosing Her Feathers?
If you are just learning how to take care of chickens, and they start losing their feathers, don’t panic, this is a normal process of turning over her feathers and growing new ones. Hens will often stop laying eggs as they molt and this gives their bodies a chance to build up nutrients. A chicken can molt at any time, though they molt most often in the Fall. Chickens under a year may not molt, and the duration of molting depends on the breed and can last from a few weeks to a few months.
If your chicken seems to be molting unexpectedly, you’ll want to rule out other causes of feather loss like lice, mites, or overly aggressive roosters. Your chicken will probably be less energetic while molting, and it may help to provide them with extra protein as they go through the process. Mealworms, scrambled eggs, or even switching to a higher protein feed during molting can be helpful.
How do I Treat Common Chicken Health Issues?
Luckily, most chicken health issues can be avoided by following the steps in this guide. Ensuring your chickens have adequate space, feed, water, supplements, and are keeping their coop clean and dry will get you 95% of the way there with treating health issues. Observing your chicken’s behavior, demeanor, and physical characteristics will also give you a good idea of when there is a problem so you can address it. When learning how to take care of chickens, it may be helpful to familiarize yourself with these 5 common chicken health problems so you know what to watch for.
How Do You Hatch Fertilized Chicken Eggs?
If you have a broody breed of chicken, you may not need to do anything other than leave a clutch of eggs for your hens to hatch and raise themselves. When you keep a rooster in your flock the likelihood is high that most of your eggs will be fertilized when they are laid. When a rooster and hen mate, the sperm is stored in the hen’s ovarian ducts for up to two weeks. You can still collect and eat them just as you would unfertilized eggs. They need very high temperatures for at least 4 days to begin the growing process.
If you don’t have any broody hens willing to sit on the clutch of eggs, you’ll need to get an egg incubator and do the job yourself. Fertilized eggs need to be held at a consistent temperature of 100 degrees for 21 days in order to hatch. By day 4 and beyond of incubating the eggs, you can look at the eggs with an egg candler or flashlight and identify which ones are fertilized and which ones are not. You’ll need to turn the eggs 3 to 5 times a day for the first 18 days. You can also get an incubator that does this job for so you.
Print This Guide
If you stuck with us through this whole guide on how to take care of chickens, you are now no longer a chicken beginner! You have WAY more information and tips to set you up for happy chicken raising than we did when we brought home those first chicks from the feed store on an impulse. Congratulate yourself for getting a mini chicken education! Raising chickens is the most fun, simple, and rewarding way to get started raising your own food.
If you found this guide helpful, you can download and print it for future reference, simply enter your email and we’ll send it over. We will also send you helpful articles every few weeks and will NEVER share your information. You may unsubscribe at any time.

Download the Complete Guide to Taking Care of Chickens
We protect your privacy, unsubscribe at any time.
Thank you!
Check your inbox for your Chicken Care Guide.

Blessings on you friend!

Leave a Reply