
Gardening at Home – The Complete Guide + 5 Beginner Mistakes to Avoid

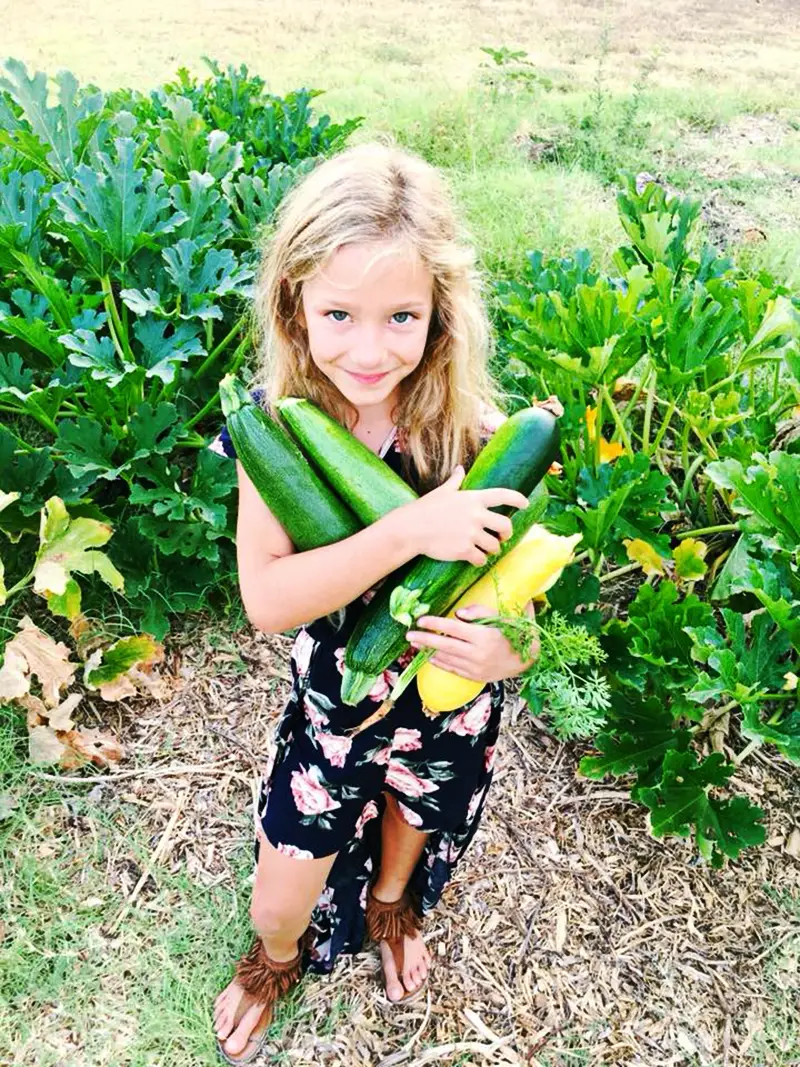
Gardening at home is one of the most rewarding activities. There is nothing like the slow satisfaction of watching your veggies grow, taking that first bite, and knowing the store produce can never compare.
But the world of gardening at home is vast and the information overwhelming. What you need is a distilled guide to gardening at home, so you know exactly what steps to take next. You need someone else to take out the guesswork and trial and error for you without reading a gardening textbook or combing the internet for weeks.
So we’re taking our generations of garden experience, which began in my great-grandma Florance’s WWII Victory Garden, and today allows us to easily manage a garden even with full work schedules and five kids, and we’re giving you exactly what you need to get started and have success in your home garden.
Read these top five mistakes new vegetable gardeners make, and how you can get it right the first time!
The Biggest Mistake First Time Vegetable Gardeners Make—Going too Big!
In all our enthusiasm to plant a garden, we can easily go too big. We may have dreams of growing, freezing, and canning 100% of the vegetables for our whole family for a year, plus more to share. As idyllic as this sounds, it’s better to have a smaller garden you love keeping and are proud of, than an extra big garden that overwhelms you and doesn’t grow well, and makes you want to give up gardening altogether.
Ask me how I know! For our first garden, four generations of my family came together to help us prepare and plant a 2000 square foot garden. It was the size of a house. The neighbor tilled it with his tractor and a local tree trimming company dumped five loads of woodchips for free that we spread over the top. We added soaker hoses and planted seeds in the soil.
That garden did just okay. It was too big to do properly and lay cardboard under the soil, so weeds proliferated through the woodchips, and the plants yellowed from excess nitrogen and watering. I gave up for a long while after that.
The Bottom Line:
Best Beginner Garden Sizes
- Inground: 10 ft x 10 ft or 12 ft x 24 ft at max if you are very ambitious
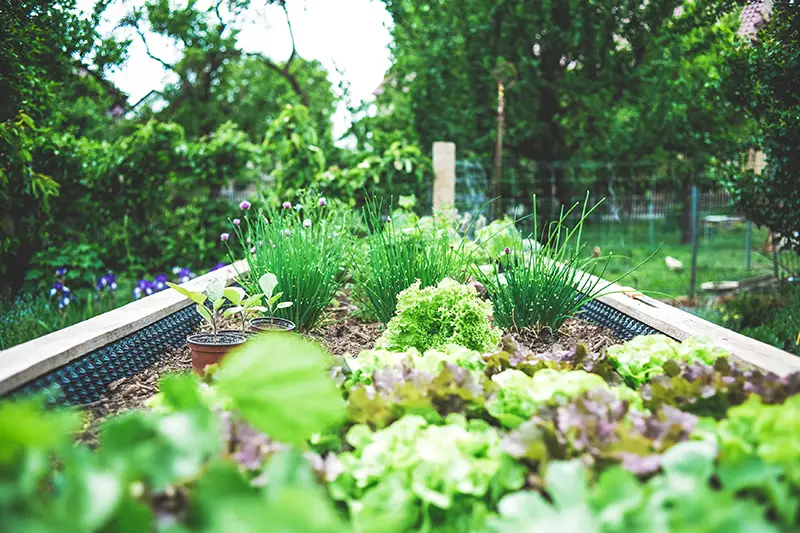
- Raised Bed: 4 ft by 8 ft is a great size for a beginner container garden
When you choose the location of your raised beds or in-ground garden, it’s important to pick a spot with full sun, that has good drainage and won’t puddle up, and has close access to water so you can effectively water your garden.
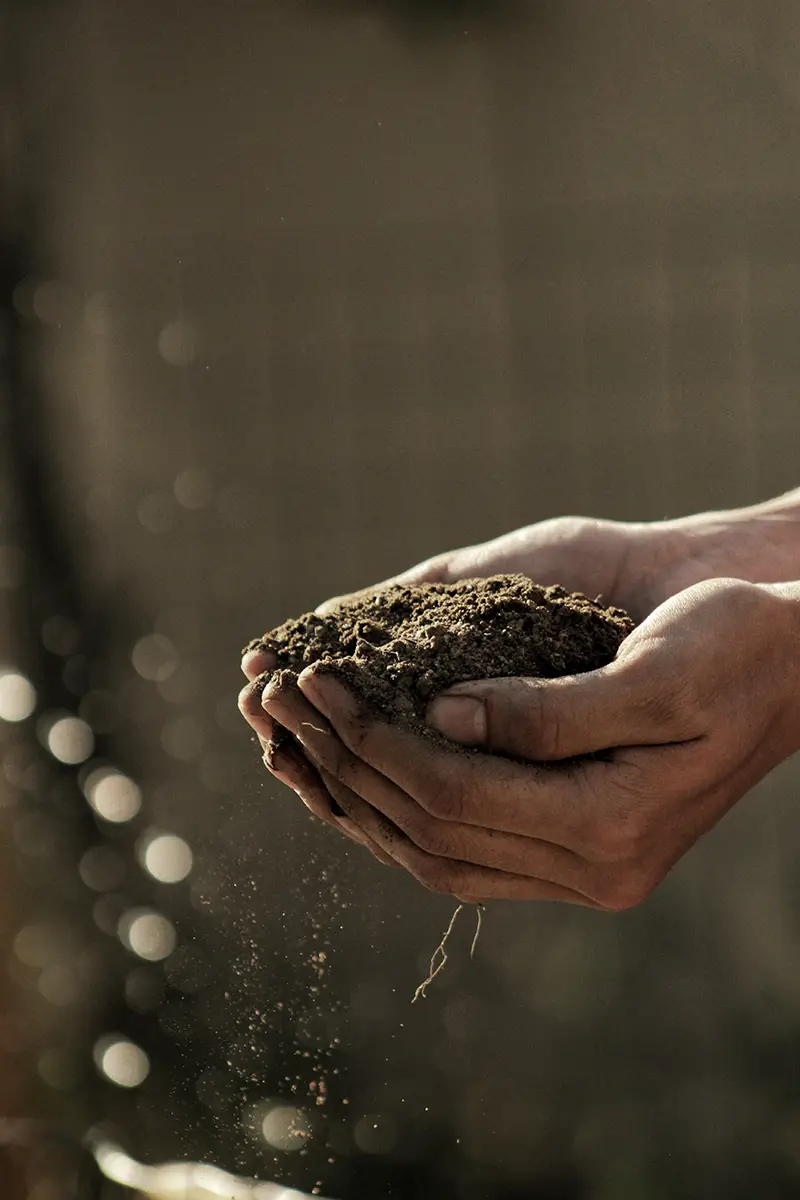
The Second Biggest Beginner Mistake Gardeners Make—Poor Soil
A vegetable garden is as healthy as the soil it grows in. If you plan to do an in-ground garden, your soil will need some preparation before you plant in it. If you use a raised bed, you will be purchasing all the necessary components for your soil. For beginners gardening at home, raised beds are more foolproof, but also can be more expensive since you are buying materials for the beds and the soil.
How to Mix Soil for Raised Beds:
There are many different recipes for the best garden soil to fill your containers, but the two most popular are:
- 60/30/10—60% topsoil, 30% compost, and 10% potting soil (this is actually a soilless blend of peat moss, vermiculite, and/or perlite.
- 50/50—50% topsoil and 50% compost
You can calculate how much soil you will need for your raised beds with this handy calculator. If you need a large quantity of topsoil, you can have it delivered to your home to save you money. Ask local landscaping companies who they use, just be sure to call and talk to the company delivering soil and be sure it is good quality top-soil and not fill-dirt.
When buying your topsoil, you’ll need to do a little sleuthing to make sure it’s good quality. Signs of high-quality topsoil are:
- Regionally sourced ingredients listed on the bag
- Nationally recognized compost certification on the bag
- Passes the squeeze test, sticks together when squeezed, but then falls apart again when you run your fingers through it
- Is not fill-dirt that some companies mistakenly call top-soil
Many gardeners like to amend their mix with additional organic compost materials like grass clippings, dead leaves, vermicompost (worm poop), or homemade compost. These things will help, but this step is optional as you will already have a great soil mix from your 60/30/10 or 50/50 mixes.
How to Prepare Ground for Planting:
If you’re gardening at home and there is lawn or wild fields currently covering your in-ground spot, here’s what you can do to prepare the soil for a garden.
- Cut your grass as short as possible
- Remove sod in smaller sections with a sod cutter or spade
- Add 4 inches of compost on top of your mowed field, or earth below the sod
- Rent or borrow a tiller to break up the ground below and work in the compost
- If your soil is particularly tough, till as far down as you can, and consider adding extra 50/50 or 60/30/10 topsoil/compost mix in raised rows
- Let it sit for a minimum of two weeks, preferably three months or more
- Purchase a soil testing kit and amende your soil with missing nutrients
- Plant in the soil and cover with bark mulch, hay, or dead leaves to inhibit weeds, retain water, and enrich the soil as it composts over time
Ideally, you will prepare your ground in the fall, so it can rest and rebuild for spring planting. If you prepare in the fall, start a compost pile with your sod, grass clippings, fallen leaves, and kitchen waste, and add the composted materials to your garden area.
If you’re short on time and can use a lot of good quality bagged compost, you’d still be fine to do a spring planting. With this fast method though, expect your first harvest to be not as wonderful as the years following it when the ground has had time to compost well.
If you really like the idea of an in-ground garden but you don’t have good soil, spend your first growing season preparing your ground with compost while you grow a container garden. Then the following year your ground will be in much better shape to start an in-ground garden.
The Third Biggest Beginner Mistake Gardeners Make—Poor Planning and Timing
When I started my first garden, my grandfather gave me some of the best advice—get a soil thermometer and check your ground. Don’t plant until it’s above 45 degrees. This turned out to be excellent advice in Texas where it has been 90 degrees on Christmas, and another year snowing on Christmas.
You should absolutely learn your zone and frosts dates for the region you live in, but nothing can replace real-time ground temperature readings.
When you find your zone’s frost dates, you can also find a planting schedule for specific plants in your specific area. The Farmers Almanac lets you search by city and gives you detailed information on each crop. I like to choose the vegetables I know my family will eat, and record their planting dates along with a garden layout in my garden planner. Succession planting involves planting the same crop two to four weeks apart so you have a continuous harvest instead of all at once. This is a technique you’ll need a garden planner to keep track of.
The Fourth Biggest Beginner Mistake Gardeners Make—Getting Overwhelmed with Gardening Methods
For as many gardeners as there are, there are methods each swears by. And many have trademarked their methods like Keyhole, Ruth Stout, Core, Eden, Biodynamic, Mittlieder, Succession, Bale, Companion, and even one named Lasagna. While each of these methods has merit, there is more than one way to grow an amazing garden, and the danger is in becoming overwhelmed, overthinking it, and eventually giving up.
The old adage of KISS (keep it simple stupid) applies to gardening at home. But there are still things to be learned from the different methods. We will break them down together so they make sense. You can take what works for you, and leave the rest for another gardener or another season.
Raised Container Methods
These methods all fall into the raised container category. Essentially you are growing your vegetables above the ground. If you plan to use this method, you may want to do more research into these types and see what might work for you.
- Container Gardening
- Raised Bed Gardening
- Square Foot Gardening
- Straw Bale Gardening
- Keyhole Gardening
To Till or Not to Till?
The way you keep your soil healthy usually falls into the no-till organic camp, or the tilling and conventional fertilization camp. The no-till organic camp is the rising star which many regional extension offices are promoting as the favored method.
Tilling and the use of conventional fertilizers like Miracle Grow is a more traditional approach. My grandfather has been gardening since WWII and swears by his tractor tiller and Miracle Grow. He tills lawn and garden waste into the soil at the end of each growing season and it helps keep the weeds down and creates a healthy composting environment in his soil. He also rotates where he plants each year to let the ground rest.
If you are starting out with very hard or rocky soil, you’re going to need to till at least the first season to break up the ground and allow compost and air to mix in so your roots can grow. And if you want to continue tilling your ground, do it like my grandfather does, once a season to mix in organic compost and allow the ground to rest every few years.
The no-till methods often include adding an organic mulch on top of the soil to protect from weeds, which will also slowly compost over time, enriching the solid. Here are some of the no-till approaches you can learn from:
- Lasagna
- Core
- Organic with compost and cover crops (permaculture, biodynamic)
- No-Till
- Back to Eden
- Companion planting
- Ruth Stout gardening (covering with thick hay)
Cold Weather Gardening
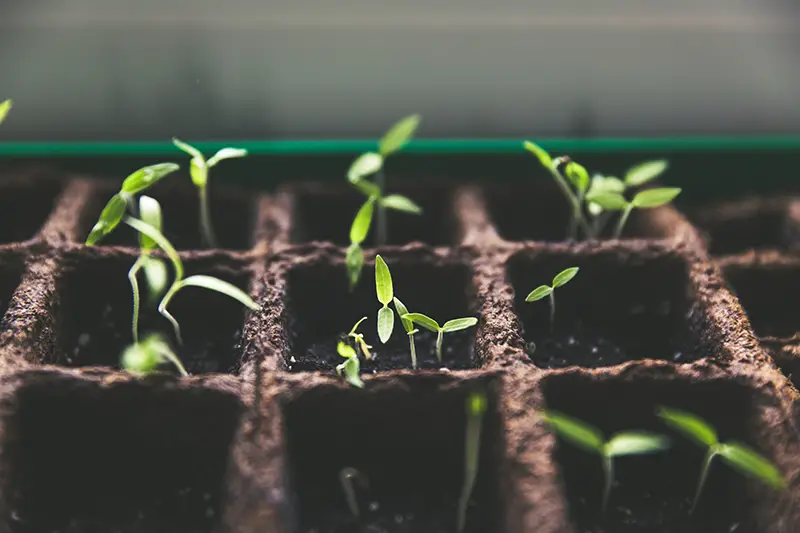
If you live in a very cold climate with a short growing season you’ll want to consider starting your seeds six weeks before your last frost date. After hardening them off for a week, which involves reducing watering and carrying them outside for increasing hours each day, you can then transplant them into the soil of your garden. Though there are exceptions and varying personal experiences, a general rule is to start these plants that are more susceptible to cold weather indoors and later transplant them.
Start Indoors
- Broccoli
- Brussels sprouts
- Cabbage
- Cauliflower
- Celery
- Eggplant
- Peppers
- Lettuce
- Tomatoes
Though there are many more plants you can transplant, a few are more delicate and will have a hard time being transplanted so they are best to sew directly in the ground during the regular growing season or when the ground has reached at least 45 degrees.
Directly Sew Outside
- Beets
- Carrots
- Cucumbers
- Dill
- Muskmelon
- Parsley
- Pumpkin
- Squash
- Watermelon
You can start your seeds inside near windows that let in a lot of light, under grow lights if you have limited natural light indoors, or you can use a cold frame or high tunnel outside. If you would like to invest more and grow plants year-round, you can buy a greenhouse which is a permanent structure that has added heating, cooling, and plumbing.
If you live in a more moderate climate or don’t care about having the longest growing season possible, you don’t have to mess with starting any seeds inside. You can simply skip this step and sew them directly in your garden when the ground temperature reaches at least 45 degrees. Follow your zone planting guides to match each vegetable with its preferred temperature conditions.
Apartment Gardening
If you live in a small space, densely packed suburban area, or an apartment, you can still enjoy gardening at home. If you can’t fit a 4×8 raised bed outside or equivalent containers, try some of these ideas to make the most of your space.
- Edible Landscaping
- Window box gardening
- Vertical or Hanging Gardening
- Hydroponic or Aquaponic Gardening
- Indoor gardening with grow lights
The Fifth Biggest Beginner Mistake Gardeners Make—Incorrect Watering
Once you’ve planted your garden, either over or under watering can spell disaster for your plants or potentially a large water bill. Gardens do best when they are watered more deeply and less often. This is good news if you’re busy!
When gardening at home, your established plants need 1 inch of rain or water each week. Check your rainfall, and only supplement what is needed to equal 1 total inch of water each week. Use these tips to ensure your plants are getting the correct amount of water.
- New seeds and young plants with shallow roots will need to be watered more frequently until their root systems develop
- Use a rainfall app or inexpensive rain gauge to measure the amount of water your garden receives from nature each week
- For more dense clay or loam soil water 1 inch once a week
- For sandy soil water ½ inch twice per week
- For hand watering, use a long hose wand and soak the base of each plant for 30 to 60 seconds, or you can use a sprinkler or drip system
- 1 inch of water is equivalent to .62 gallons for every one square foot of garden space. Therefore if your garden is a 4×8 with 32 square feet of space, you will need about 20 gallons of water for your garden
- To measure your water, you can use a hose water meter, or simply go on observation when the soil seems saturated down to the root
- Don’t use water pressure so high it washes away dirt
- Use bark or hay mulch to protect from excess evaporation
- If you live in an area with excessive rainfall, consider using raised beds so your soil can have better drainage
You’ve just completed a crash course in gardening at home. When in doubt, keep things simple. You can always grow and expand your knowledge, methods, tools, and garden size in years to come!
What has your first gardening at home experience been like? Did you have any epic failures? What worked for you? Let us know in the comments.
Leave a Reply